Key Takeaways
- Wise offers a cost-effective way to manage international finances with low fees and real mid-market exchange rates.
- Setting up a Wise account is simple and can be completed in a few steps, requiring personal details and ID verification.
- The platform supports over 50 currencies and provides virtual account details like IBANs and UK sort codes for seamless global transactions.
- Wise is ideal for freelancers, businesses, and individuals with cross-border financial needs due to its transparency and multi-currency features.
- Enhancing account security with strong passwords, two-factor authentication, and secure network connections ensures safe transactions.
Managing money across borders used to be a hassle, but that’s where Wise comes in. It’s a game-changer for anyone dealing with international transactions, offering low fees and transparent exchange rates. Whether you’re a freelancer, a business owner, or just someone sending money abroad, having a Wise account can make your life so much easier.
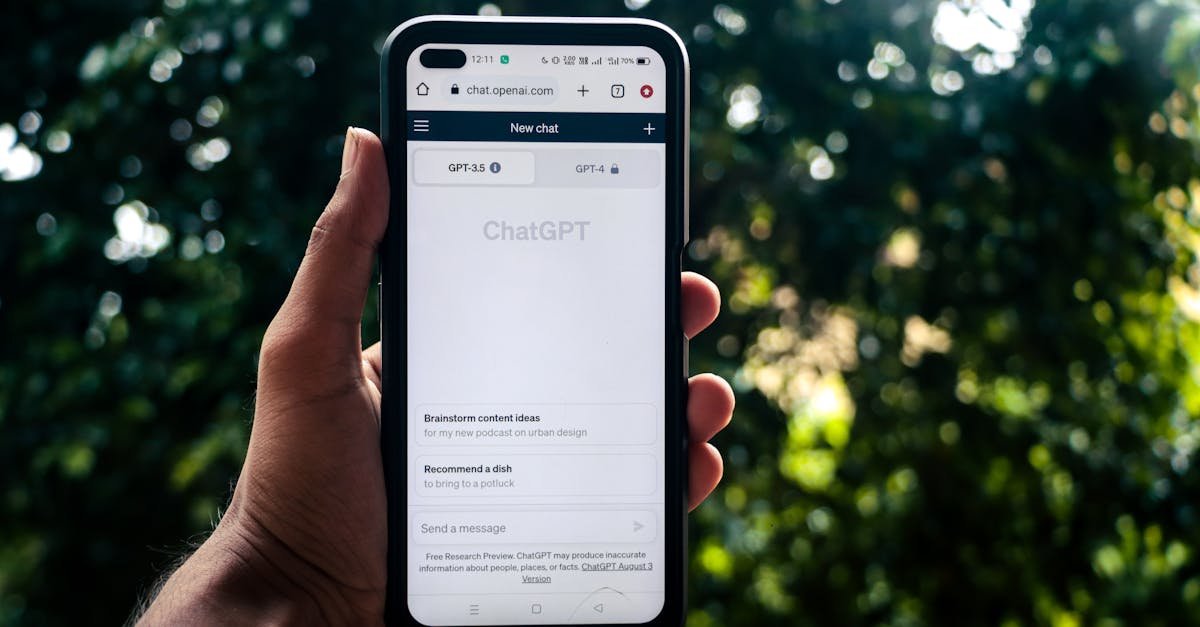
When I first heard about Wise, I was intrigued by how simple and efficient it seemed. Setting up an account is straightforward, and you don’t need to be tech-savvy to get started. In just a few steps, you can unlock access to a multi-currency account that saves you time and money. If you’re ready to streamline your global finances, let me walk you through how to open a Wise account.
What Is A Wise Account?
A Wise account is an online financial platform enabling users to send, receive, and hold money in multiple currencies. Designed for transparency and cost efficiency, it offers real exchange rates without hidden markups.
This account supports over 50 currencies, including USD, EUR, and GBP, allowing users to manage international finances easily. Features like virtual account details for certain currencies, such as IBAN for EUR or sort code for GBP, make it convenient for global transactions.
Freelancers, businesses, and international residents benefit from its low transfer fees and borderless payment functionalities. With features like multi-currency accounts and instant conversion, Wise simplifies managing cross-border finances.
Benefits Of A Wise Account
A Wise account simplifies global financial management with features designed for cost efficiency and flexibility. It caters to individuals and businesses managing cross-border transactions.
Low Fees And Transparent Pricing
Wise prioritizes low fees and provides real mid-market exchange rates. Unlike traditional banks, it doesn’t include hidden markups in currency conversions. For example, transferring $1,000 to EUR costs significantly less compared to many banks, saving users money on each transaction.
Multi-Currency Features
Wise supports accounts in over 50 currencies, enabling seamless transactions across borders. With virtual account details like IBANs and UK sort codes, users can receive payments in specific currencies without conversion fees. It’s ideal for freelancers earning in multiple currencies or businesses managing global clients.
Easy Accessibility And Integration
Wise’s user-friendly platform is accessible via web and mobile apps. The integration with tools like Xero and Stripe allows businesses to streamline payment workflows. Setting up an account takes minutes, ensuring quick access to these features without unnecessary delays.
Step-By-Step Guide On How To Open A Wise Account
Opening a Wise account is simple, taking just a few minutes online. Follow these steps to set up your account and start managing your finances internationally.
Creating Your Account
Go to the Wise website or download the Wise app. Click “Sign up” and select a personal or business account. Enter your email address and create a secure password, or sign up using your Apple, Google, or Facebook account. After providing basic details like your name, date of birth, and phone number, proceed to the next step.
Verifying Your Identity
Upload a government-issued ID, such as a passport or driver’s license. Depending on your location, Wise may also request proof of address, like a utility bill or bank statement. Submissions are reviewed within 1-3 business days, though some cases are processed faster. Once verified, you can start using your account for transactions.
Adding Your First Funds
Navigate to your account dashboard and select “Add Money.” Enter the amount and currency you wish to deposit, then choose a payment method like a bank transfer or debit card. Before confirming, Wise will display the exact fees and exchange rates. Once completed, the funds appear in your account within minutes to a few hours, based on the payment option.
Tips For A Smooth Account Setup
Setting up a Wise account is straightforward when approached correctly. Following best practices avoids delays and enhances the user experience.
Common Pitfalls To Avoid
Missing accurate details during setup often causes verification delays. Enter correct personal information like your legal name, address, and date of birth; mismatches lead to issues. Using unsupported documents slows verification. Check Wise’s list of accepted government-issued IDs to ensure compliance. Neglecting proof of address is another common error; upload clear images of recent utility bills, bank statements, or other approved documents. Ensure all files are readable and not cropped.
Avoid partial fund transfers after completing the initial setup. Ensure sufficient funds for the intended transaction plus any associated fees to prevent failed or incomplete transfers. Skipping two-factor authentication setup makes your account vulnerable. I recommend enabling this extra layer of security during registration.
Ensuring Secure Transactions
A secure network connection protects sensitive information during account setup and money transfers. Use trusted Wi-Fi connections, not public networks, to prevent unauthorized access. Creating a strong password is vital. Combine uppercase and lowercase letters, numbers, and special characters for optimal security, avoiding common words or sequences.
Review account notifications regularly; they update you about unusual activity, ensuring timely action if needed. Enable Wise’s two-factor authentication for additional security. This feature adds an extra verification layer through your phone or email, significantly reducing the risk of unauthorized access.
Final Thoughts On Opening A Wise Account
Opening a Wise account offers an efficient way to manage international finances. With its low fees, real exchange rates, and multi-currency support, Wise caters to individuals and businesses seeking transparency and cost-effectiveness in cross-border transactions. The platform’s intuitive design ensures that account creation is straightforward, typically taking just a few minutes when following the required steps.
The multi-currency functionality allows me to hold over 50 currencies, enabling seamless transactions without hidden fees. Features like virtual account details in specific currencies and integration with tools like Xero enhance its usability for freelancers and businesses. By prioritizing accurate personal details and using valid verification documents, I mitigate setup issues and ensure smooth processing.
I find that maintaining account security is just as important as setup efficiency. Enabling two-factor authentication and creating strong passwords protects sensitive financial information. By staying vigilant with notifications and choosing secure network connections, I can ensure that my Wise account remains safe during transactions.
Conclusion
Opening a Wise account is a game-changer for anyone managing international finances. With its transparent fees, real exchange rates, and multi-currency features, it’s designed to make global transactions simple and cost-effective. The platform’s user-friendly interface ensures a seamless setup process, letting you focus on what matters most—your financial goals.
By following the steps and tips shared, you’ll be well on your way to enjoying the benefits of Wise. Whether you’re a freelancer, business owner, or just someone sending money abroad, Wise offers the tools you need to manage your money confidently and securely.
Frequently Asked Questions
What is Wise, and how does it work?
Wise is a financial platform for international money management. It lets you send, receive, and hold money in over 50 currencies with low fees and real exchange rates. Users can open a multi-currency account, avoid hidden markups, and enjoy seamless, secure cross-border transactions.
Who can benefit from using Wise?
Wise is ideal for freelancers, business owners, and individuals managing international finances. It’s especially helpful for receiving payments in various currencies, avoiding unnecessary conversion fees, and simplifying global transactions.
How do I create a Wise account?
To create a Wise account, visit their website or app, sign up with your email, verify your identity using a government ID, and add funds. The process typically takes just a few minutes.
What are the fees for using Wise?
Wise charges low, upfront fees for transfers and uses real mid-market exchange rates. There are no hidden markups, making it cost-efficient for international transactions.
Is Wise secure to use?
Yes, Wise prioritizes security with features like two-factor authentication and encryption. Users are encouraged to use strong passwords, secure networks, and monitor account activity for added protection.
Can I hold multiple currencies with Wise?
Yes, Wise allows you to hold money in over 50 currencies via a multi-currency account. This enables you to manage international funds without frequent conversions.
How long does it take to send money with Wise?
Money transfers on Wise typically take minutes to a few business days, depending on the currencies and payment method used.
Does Wise integrate with business tools?
Yes, Wise integrates with tools like Xero and Stripe, making it easier for businesses to streamline payment workflows and manage finances.
What documents do I need to verify my Wise account?
To verify your Wise account, you’ll need a government-issued ID, such as a passport or driver’s license. Wise may ask for additional documents based on the country you’re signing up from.
How can I enhance the security of my Wise account?
You can enhance security by enabling two-factor authentication, creating strong passwords, using secure networks when accessing your account, and regularly reviewing notifications for unusual activity.